- Security >
- Configure Federated Authentication >
- Manage Identity Providers
Manage Identity Providers
On this page
MongoDB Federated Authentication links your credentials across many MongoDB systems. MongoDB Cloud Manager implements authentication using the Federated Identity Management model.
Using the FIM model:
- Your company manages your credentials using an Identity Provider (IdP). With its IdP, your company can enable you to authenticate with other services across the web.
- You configure Cloud Manager to authenticate using data passed from your IdP.
This goes beyond SSO as your IdP manages your credentials, not MongoDB. Your users can use Cloud Manager without needing to remember another username and password.
The following procedure walks you through linking an IdP to Cloud Manager.
Federation Management Access
You can manage federated authentication from the Federation
Management Console. You can access the console as long as you are an
Organization Owner in one or more organizations that are
delegating federation settings to the instance.
Procedure
Two-Stage Configuration
Depending on your Identity Provider, some circular logic may apply when linking it to a Service Provider like Cloud Manager. To link your IdP to Cloud Manager:
- Your IdP needs values from Cloud Manager and
- Cloud Manager needs values from your IdP.
To simplify setup, Cloud Manager prompts you to enter placeholder values for the IdP and Cloud Manager configurations. You will replace these values later in the procedure.
Configure An External Identity Provider Application
To configure Federated Authentication, you must have an external SAML IdP application. In the SAML IdP, you must:
Create a new application for Cloud Manager.
Configure initial SAML values for the new application:
Set placeholder values for the following fields:
- SP Entity ID or Issuer
- Audience URI
- Assertion Consumer Service (ACS) URL
Set valid values for the following fields:
Field Value Signature Algorithm The signature algorithm is the algorithm used to encrypt the IdP signature. Cloud Manager supports the following signature algorithm values:
SHA-1SHA-256
Name ID A valid email address.
Important
Name ID is both your email address and username.
Name ID Format urn:oasis:names:tc:SAML:1.1:nameid-format:unspecifiedCreate attributes with Attribute Names for the following Attribute Values:
firstNamelastName
Note
The names of these attributes are case sensitive. Type these attribute names as shown in camelCase.
Save these values.
Once you have completed the initial setup for your IdP application, you link the IdP to Cloud Manager to federate your users’ logins.
Apply Your Identity Provider to Cloud Manager
Prerequisite
This procedure assumes you already have an external IdP. To learn how to configure an IdP, see Configure An External Identity Provider Application.
You can configure Federated Authentication in Cloud Manager from the Federation Management Console. Use this console to:
- Configure Identity Providers to authenticate users belonging to specified organizations.
- Connect Cloud Manager Organizations to your IdP.
- Verify and associate Domains with your IdP to force users to authenticate using that IdP.
Open the Management Console
In Setup Federated Login, click Visit Federation Management App.
From the Management Console:
Click Add Identity Providers
If you do not have any Identity Providers configured yet, click Setup Identity Provider. Otherwise, On the Identity Providers screen, click Add Identity Provider.
Enter or select the following SAML Protocol Settings. All fields are required:
Field Description Configuration Name Name of this IdP configuration. IdP Issuer URI Identifier for the issuer of the SAML Assertion.
Note
Specify a placeholder value for this field. Obtain the real value for this field from your IdP once you have supplied it with the Cloud Manager metadata.
IdP Single Sign-On URL URL of the receiver of the SAML AuthNRequest.
Note
Specify a placeholder value for this field. Obtain the real value for this field from your IdP once you have supplied it with the Cloud Manager metadata.
IdP Signature Certificate PEM-encoded public key certificate of the IdP. You can obtain this value from your IdP.
You can either:
- Upload the certificate from your computer, or
- Paste the contents of the certificate into a text box.
Request Binding SAML Authentication Request Protocol binding used to send the AuthNRequest. Can be either:
HTTP POSTHTTP REDIRECT
Response Signature Algorithm Response algorithm used to sign the SAML AuthNRequest. Can be either:
SHA-256SHA-1
Click Next.
Configure Your Identity Provider with Cloud Manager Metadata
Having set up your IdP in Cloud Manager, you can provide the required Cloud Manager metadata to your IdP.
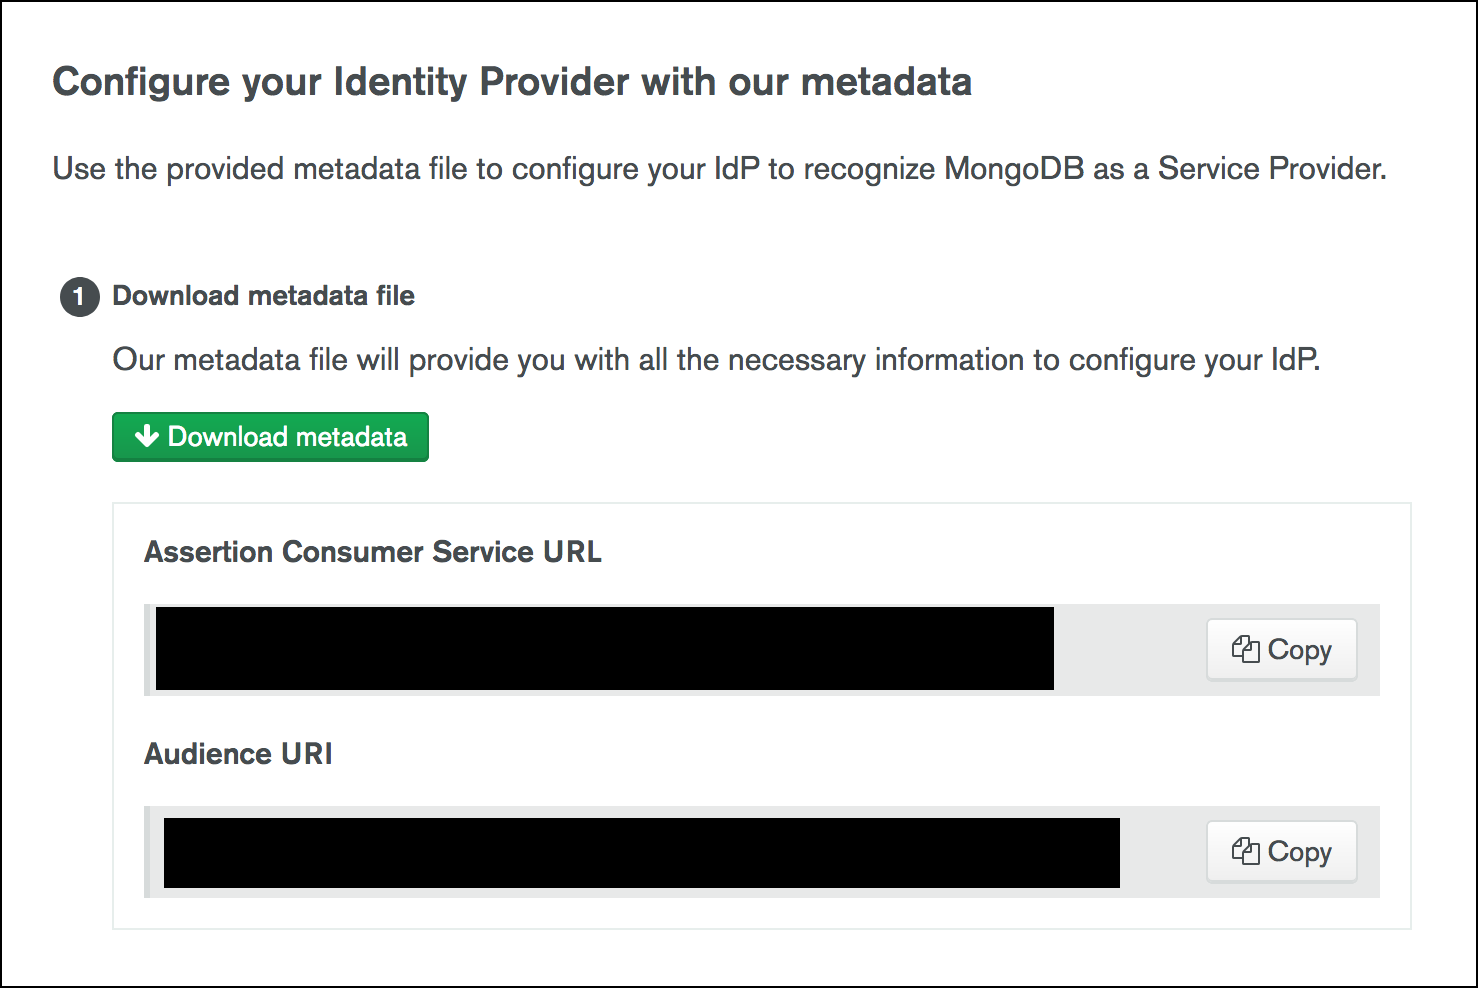
On the Identity Provider screen in Cloud Manager, click Download metadata to download the metadata required by your IdP. Cloud Manager provides the data as an
.xmlfile.Note
Cloud Manager provides the Assertion Consumer Service URL and Audience URI if you wish to manually copy and save these values. These values are included in the metadata download.
Upload the metadata to your IdP.
You now have the necessary information to replace the placeholder IdP Issuer URI and IdP Single Sign-On URL values set when you set up the initial IdP mapping in Cloud Manager.
In Cloud Manager, modify the placeholder values set for IdP Issuer URI and IdP Single Sign-On URL for the linked IdP with the proper values from your IdP.
Optionally, add a RelayState URL to your IdP to send users to a URL you choose and avoid unnecessary redirects after login. You can use:
Destination RelayState URL MongoDB MongoDB Atlas The Login URL that was generated for your identity provider configuration in the MongoDB Atlas Federation Management App. MongoDB Support Portal MongoDB University MongoDB Community Forums MongoDB Feedback Engine MongoDB JIRA Return to Cloud Manager and click Finish.
Important
Once you link your IdP to Cloud Manager, it shows as Inactive in the Federation Management Console until you map at least one domain to the IdP.
Next Steps
After you successfully linked your IdP to Cloud Manager, you must map one or more domains to your IdP. Cloud Manager authenticates users from these domains through your IdP.
